I'm a Data Engineer. I live in pipelines, not Figma files. So when I decided I needed a personal portfolio and tech blog, I knew I wasn't going to sit down and design a beautiful landing page from scratch — I'd lose my mind before the hero section was done.
Instead, I leaned into something I've been curious about for a while: AI-assisted web development. The result is the site you're reading this on right now — tejhalabs.site. Here's exactly how I built it, tool by tool, prompt by prompt.
The Stack Decision
Before anything else, I settled on what I wanted the site to be:
- A dark-only personal portfolio and tech blog
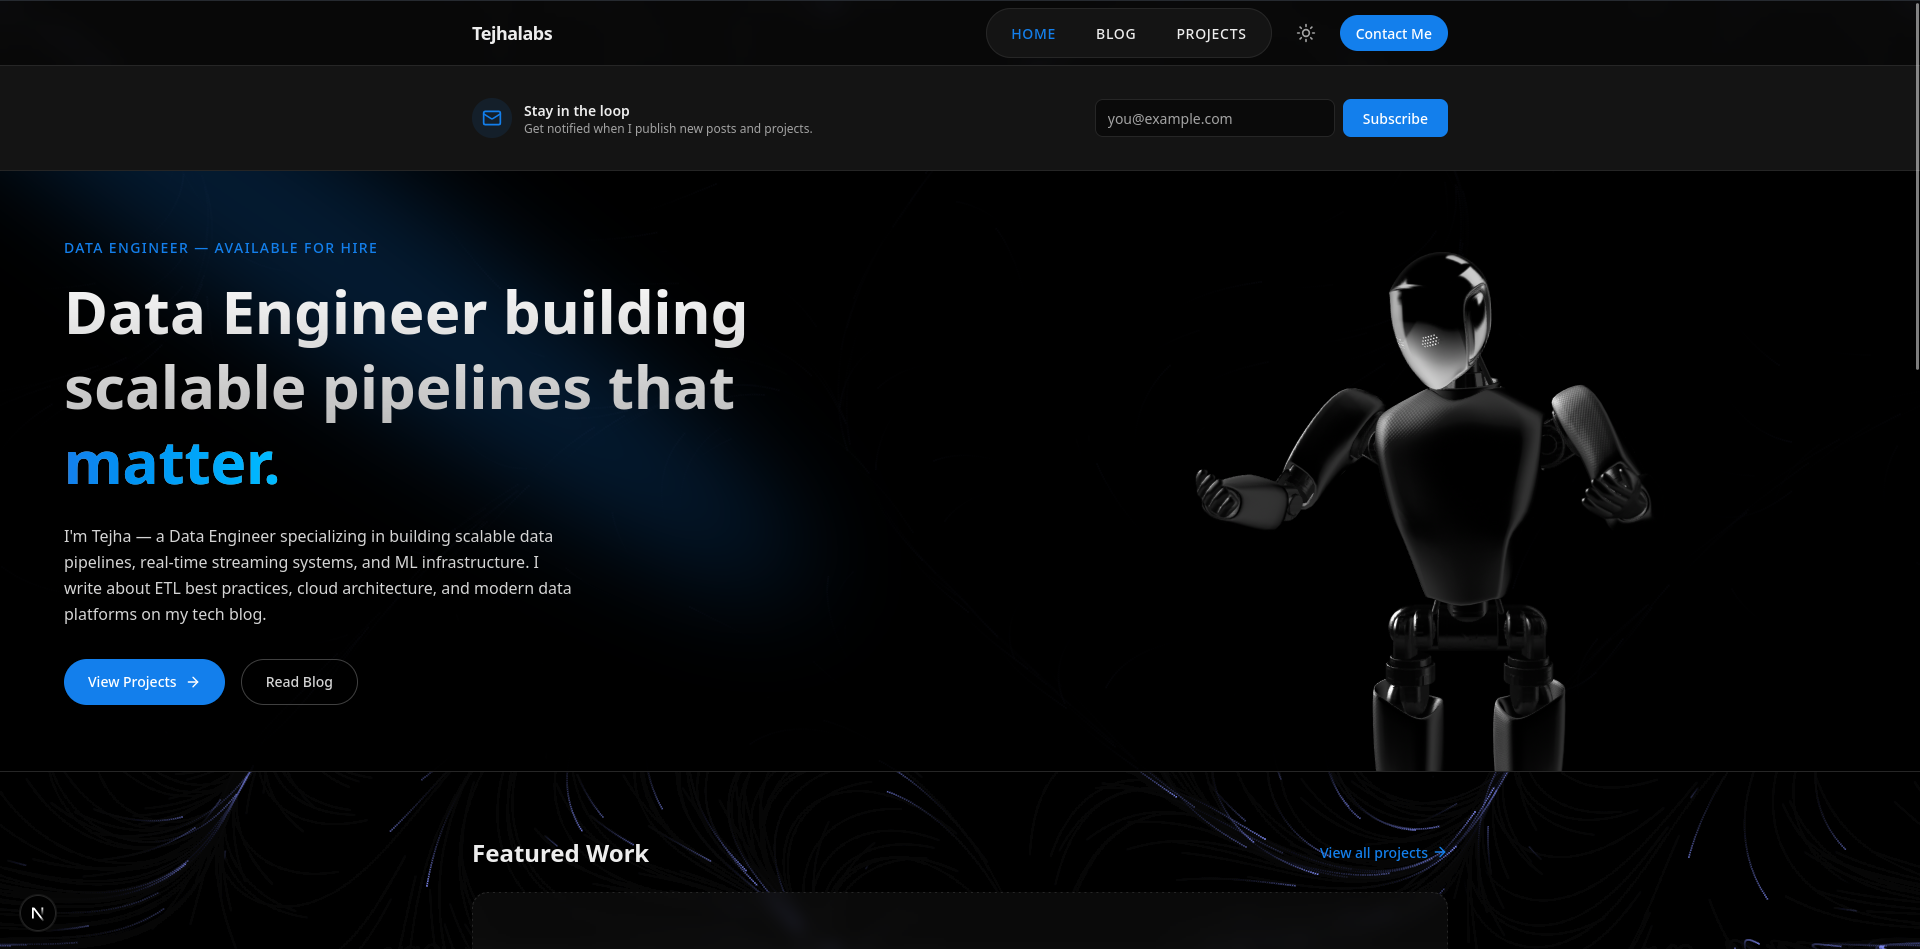
- A landing page that speaks to who I am as a Data Engineer
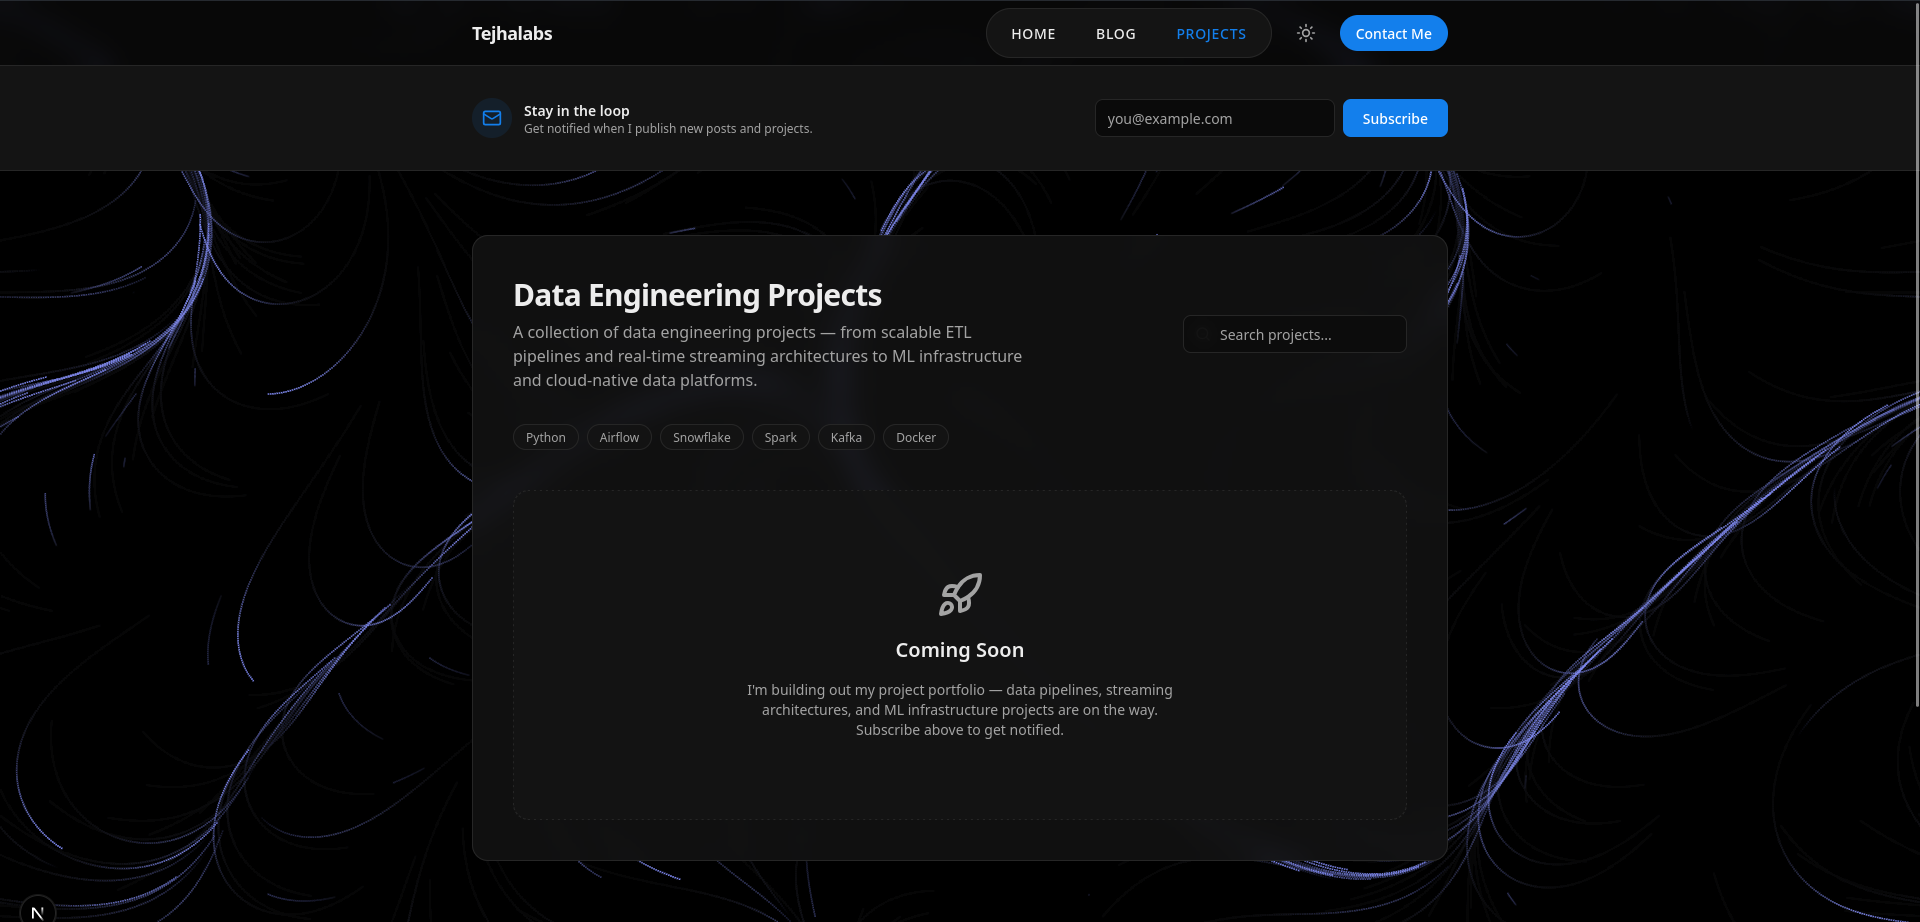
- Two sub-pages: Blog and Projects — both in a newsletter-style format
- A newsletter subscription module so readers can stay in the loop
- Clean, modern UI — without me having to design it
For the framework, I went with Next.js + TypeScript + Tailwind CSS. Sensible defaults, great ecosystem, and deploys beautifully on Netlify.
Step 1 — Designing with Google Stitch
I'm not a creative person when it comes to UI. That's just a fact I've made peace with. So the first tool I reached for was Google Stitch — an AI-powered UI design tool from Google Labs.
Stitch takes text prompts, sketches, or wireframes and generates responsive UI designs for web and mobile. You switch to "Web" mode, optionally upload a reference design (I grabbed inspiration from Dribbble and Land-book), and then describe what you want.
My prompt was simple:
Based on this website right here for this landing page, which is something that I built, I want you to create a UI mock-up for this entire website in the canvas. I want you to create one for the website view for the horizontal view and one for the vertical view for the mobile view.
A few seconds later, I had desktop and mobile designs ready to review. No Figma, no hand-drawing wireframes, no design tokens to argue about.
Step 2 — Connecting Stitch to Antigravity via MCP
Here's where things got interesting. Antigravity is Google's AI-powered IDE — an agent-first development environment where Gemini models handle planning, coding, debugging, and testing. Instead of writing code line by line, you describe what you want and agents execute it.
The bridge between Stitch and Antigravity is the Stitch MCP (Model Context Protocol). It exposes Stitch's functions directly to the Antigravity agent, and Stitch Skills are plug-and-play GitHub modules that give the agent specialised abilities on top.
To set it up:
- Open Antigravity → Agent Manager → MCP Servers
- Search for
stitchand install it - Generate an API key from stitch.withgoogle.com/settings and paste it in
Then install Stitch Skills via the terminal:
npx skills add google-labs-code/stitch-skills --skill react:components --global
I also added a landing page skill from the MCP market:
npx skillfish add taiyousan15/taisun_agent lp-design
Step 3 — Scaffolding the Next.js Project
With the design pipeline ready, I initialised the actual project:
npx -y create-next-app@latest ./ --typescript --tailwind --eslint --app --src-dir --import-alias "@/*" --use-npm
Then I gave the agent a structured prompt to set up the folder architecture:
src/
├── app/
│   ├── layout.tsx
│   ├── page.tsx
│   ├── blog/
│   │   └── page.tsx
│   └── projects/
│       └── page.tsx
├── components/
│   ├── ui/
│   ├── Header.tsx
│   └── Footer.tsx
└── lib/
It created all the files, wired up next-themes for dark/light mode, built the Header with navigation and a theme toggle using lucide-react, and got everything compiling cleanly.
Step 4 — Evaluation → Enhanced Prompts → Design Translation
This is the part that genuinely surprised me. I attached the lp-design skill to the agent and asked it to evaluate the current project:
Take a look at our current Next.js project for a Data Engineer personal tech portfolio and blog website. Evaluate each page, identify any design gaps or missing sections compared to a modern portfolio, and generate an evaluation.md file summarising all findings.
The output was a detailed evaluation.md — full of gaps I hadn't even thought about. Missing social proof sections, weak hero copy, no clear CTA hierarchy, no skills showcase. It was humbling but useful.
I then used that evaluation to generate enhanced prompts for Stitch, pull the generated designs back via MCP, and translate them into real React components using the react-components skill:
I approve the Stitch designs. Using the react-components skill, translate the Stitch
designs for the landing page, blog page and projects page into actual React components
inside our existing Next.js project. Follow these rules:

1. Use our existing Tailwind CSS and next-themes setup for dark/light mode
2. Use lucide-react for any icons
3. Use the cn() utility from lib/utils.ts for class merging
4. Place new components inside src/components/ and ui elements inside src/components/ui/
5. Update app/page.tsx, app/blog/page.tsx and app/projects/page.tsx to use the new components
6. Make sure it compiles cleanly with npm run build
Step 5 — Polishing the UI
For the finer UI details, I leaned on two component libraries:
- 21st.dev — for high-quality, copy-paste ready React components
- React Bits — for motion and interactive elements
| Element | Source |
|---|---|
| Landing page hero split | 21st.dev — splite |
| Header navbar with icons | 21st.dev — tubelight-navbar |
| Blog post cards | 21st.dev — blog-post-card |
| Animated background | 21st.dev — flow-field-background |
For mobile responsiveness, I added one more skill:
npx skillfish add jkkn-institutions/kenavo mobile-responsive
Step 6 — SEO
I'm not going to build a site and let it rot in obscurity. I used an SEO optimizer skill from MCP Market and prompted:
Make an seo.md and generate me the report for the SEO optimizations.
It flagged missing meta descriptions, Open Graph tags, structured data for blog posts, and sitemap configuration. Worked through the list one by one.
Step 7 — Deployment
I pushed the repo to GitHub and deployed via Netlify with auto-deploy on every git commit to main. The live site: tejhalabs.site.
Step 8 — Newsletter
The last piece was the newsletter subscription form. I didn't want to set up a full email service provider immediately — instead I automated it in the simplest way possible: emails go straight into a Google Sheet.
When someone subscribes, their email is captured and written to a Sheet via a Google Apps Script webhook. It takes about ten minutes to set up, costs nothing, and gives me a clean subscriber list I can migrate to a proper email platform (Loops, Resend, Beehiiv — whatever fits) when the time comes. The key insight is that the automation comes later; the data collection starts now.
It's the Data Engineer approach to newsletters: get the pipeline running first, worry about the destination later.
Honest Reflection
The whole workflow — Stitch for design, Antigravity for coding, skills for specialised tasks — felt like pair programming with an extremely fast junior who never gets tired. It's not magic. You still need to think clearly about what you want, write good prompts, and review everything the agent produces. But it completely removes the bottleneck of "I don't know how to design this" or "this boilerplate will take me two hours."
For a Data Engineer who just wanted a clean portfolio site without becoming a frontend developer overnight, this worked really well.